|
1
2
3
4
5
6
7
8
9
10
11
12
13
14
15
16
17
18
19
20
21
|
<!DOCTYPE html>
<html lang="en">
<head>
<meta charset="UTF-8">
<meta name="viewport" content="width=device-width, initial-scale=1.0">
<title>Document</title>
<style>
div {
background: yellow;
padding: 20px;
border: 5px dotted red;
margin: 30px;
}
</style>
</head>
<body>
<div>
<img src="media/mio.png" alt="고양이눈">
</div>
</body>
</html>
|
cs |
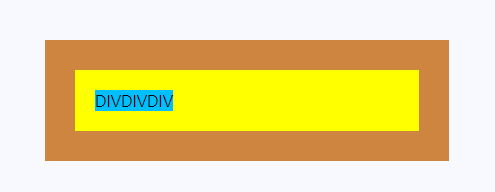
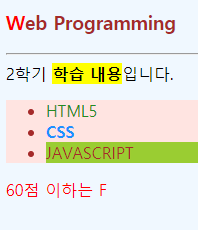
위 코드를 적용하면 크롬에서 아래와 같이 나옵니다.

'Web > Html_Css' 카테고리의 다른 글
| border 둥근 모서리 테두리 (0) | 2020.03.06 |
|---|---|
| border 테두리 (0) | 2020.03.06 |
| border, margin (0) | 2020.03.06 |
| css 폰트 예제1 (0) | 2020.03.05 |
| css3 색 color 활용1 (0) | 2020.03.05 |